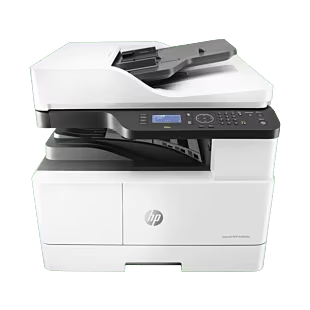
Step-by-Step HP Printer Setup Guide
HP printer setup is simple. Unbox the printer, plug it into power, install ink cartridges, load paper, and follow the on-screen steps to complete your HP printer setup easily.
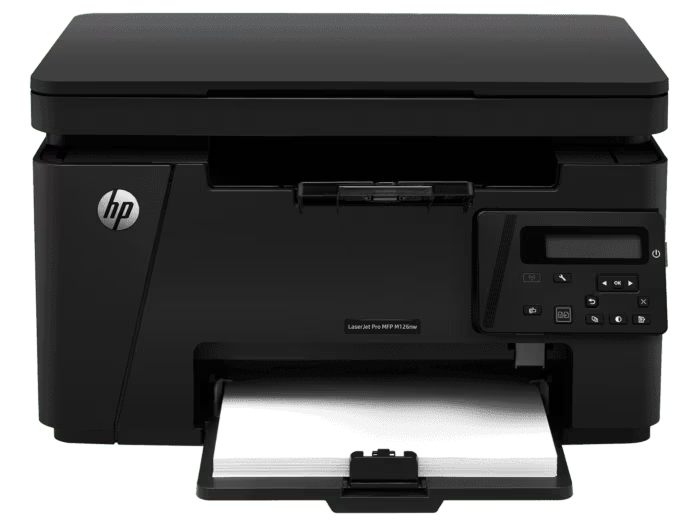
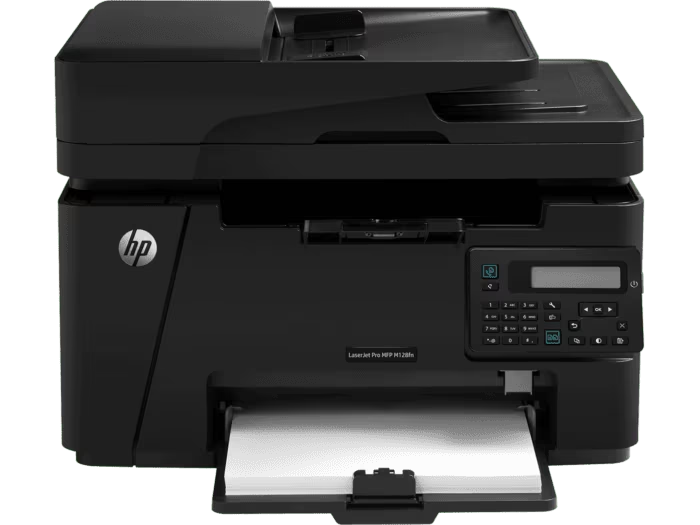
Printer Setup Instructions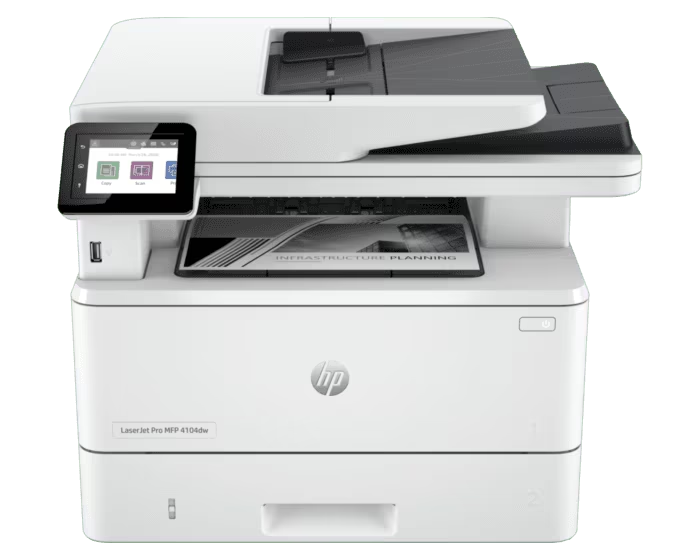
HP printer setup is simple. Unbox the printer, plug it into power, install ink cartridges, load paper, and follow the on-screen steps to complete your HP printer setup easily.
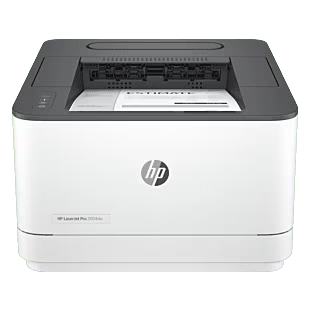
Printer Setup Instructions

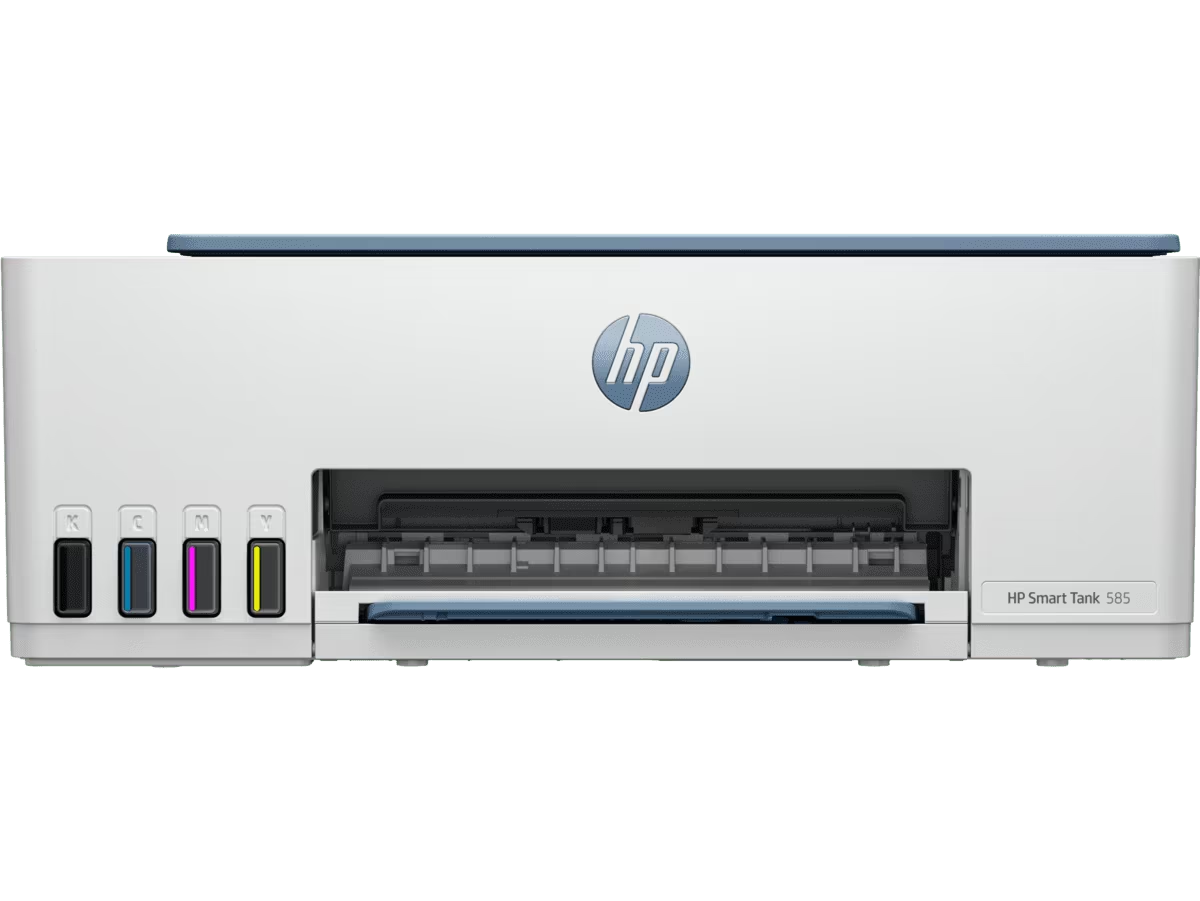

Unbox your HP printer carefully. Remove all packing materials and place the printer on a flat surface. This is the first step in your HP printer setup.
Press the power button to turn on your HP printer. This step is essential in the HP printer setup process to begin the configuration and ensure proper operation.
Load paper into the tray during the HP printer setup. Make sure the paper is aligned properly and the guides fit the paper size for smooth printing.
Download and install the correct printer drivers from the HP website. This step is essential for completing the HP printer setup and ensuring your printer works smoothly with your computer.
Place your HP printer on a flat, stable surface during the HP printer setup. Ensure it’s near a power outlet and computer for easy connection and smooth setup.
Open the ink cartridge compartment and carefully install the ink cartridges during the HP printer setup. Make sure they click into place for proper printing performance.
Connect your HP printer to your computer or Wi-Fi network during the HP printer setup. Follow the on-screen instructions to complete the connection for easy printing.
After completing the HP printer setup, print a test page to ensure everything is working correctly. This step confirms that your printer is properly connected and ready to use.

My HP printer setup was super easy! The step-by-step guide helped me get it running in minutes. Highly recommend!

Best HP printer setup experience ever! The instructions were straightforward, and I had no trouble connecting my HP printer to my laptop. Highly satisfied!